How Do I Downgrade My Subscription?
If you’d like to switch to a lower plan, follow these simple steps to downgrade your current subscription.
Step 1: Log Into the Client App
- Open the Client App: Log in to your account within the client app using your credentials.
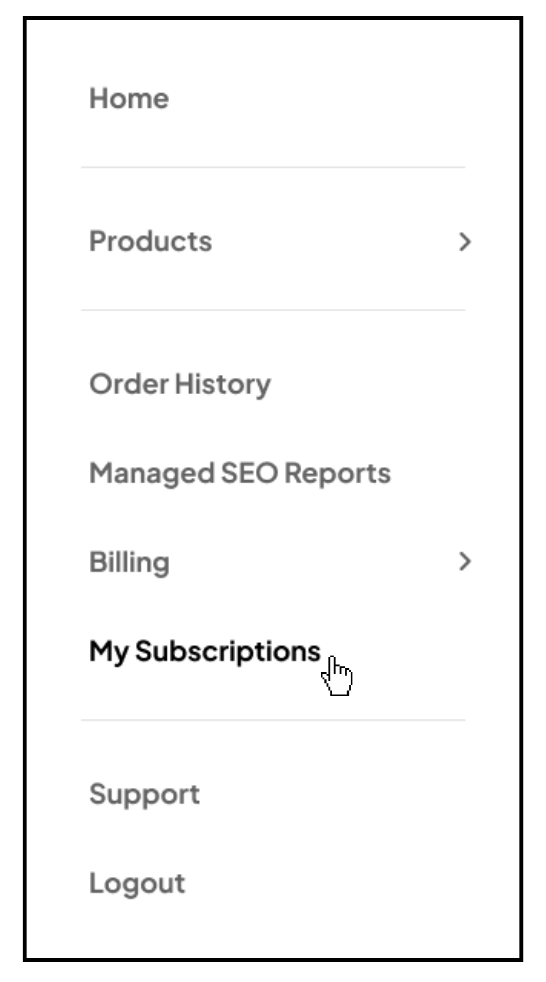
Step 2: Navigate to ‘My Subscriptions’
- Access ‘My Subscriptions’: In the left-hand menu of the client app, locate and click on ‘My Subscriptions.’

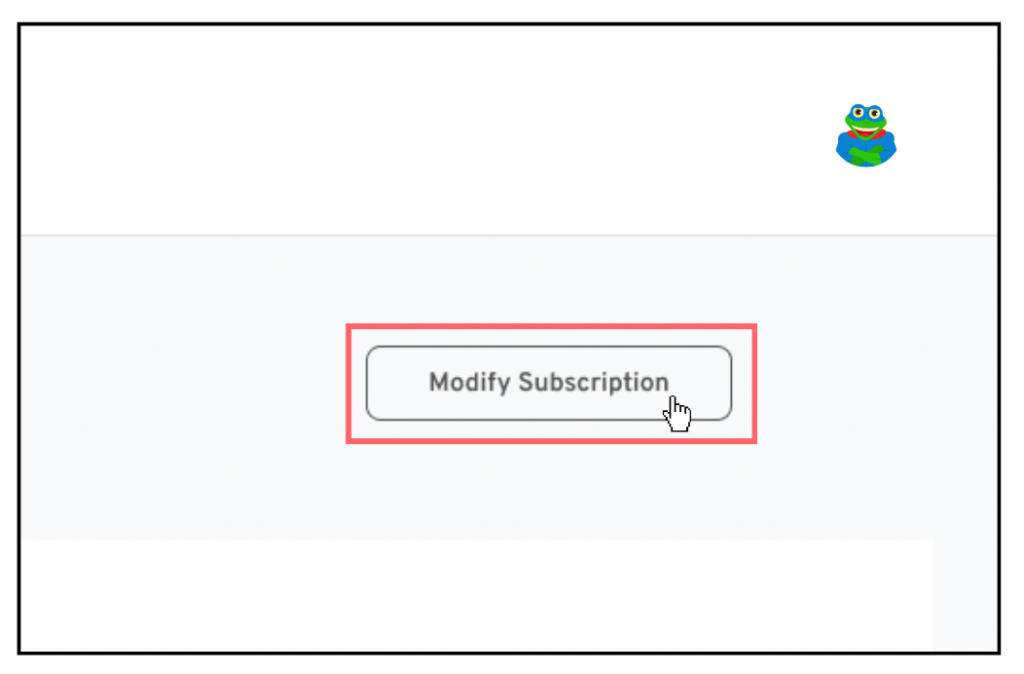
Step 3: Select ‘Modify Subscription’
- Modify Your Subscription: In the top right corner of the Overview page, click on ‘Modify Subscription’ to access additional settings.

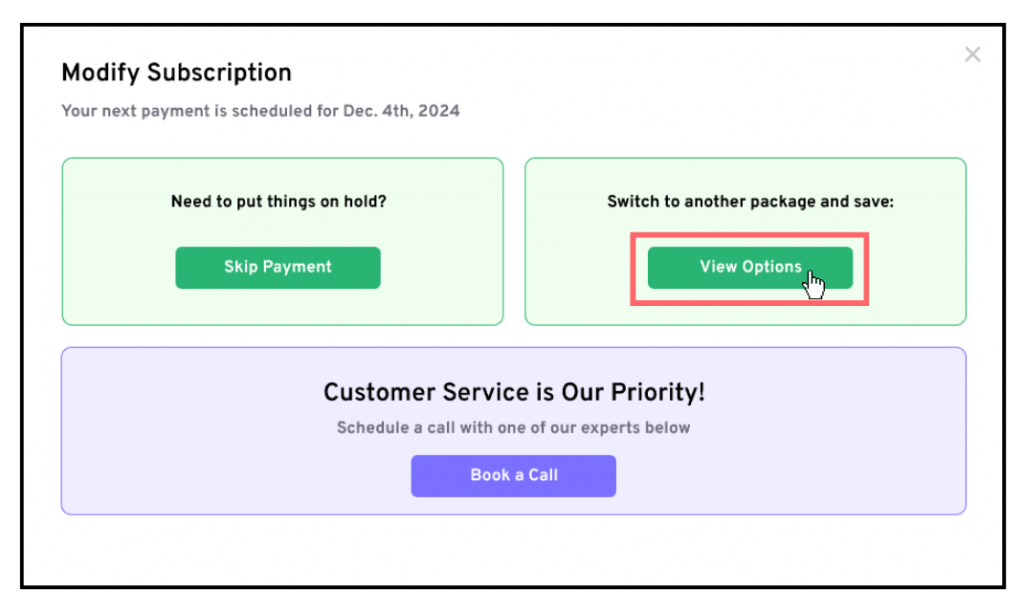
Step 4: Click on ‘View Options’
- Access Plan Options: In the Modify Subscription section, locate the ‘Switch to Another Option and Save’ box.
- Select ‘View Options’: Click this button to proceed with your downgrade choices.

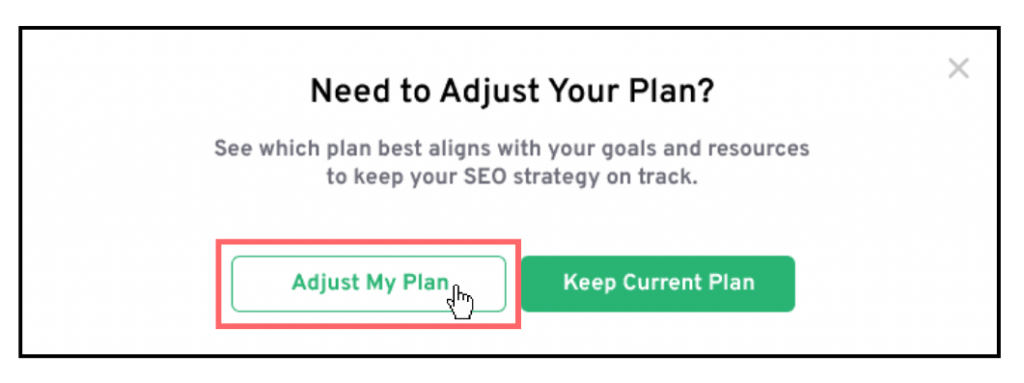
Step 5: Select ‘Adjust My Plan’
- Adjust Plan: In the pop-up window labeled ‘Need to Adjust Your Plan?’, click on the ‘Adjust My Plan’ button to continue with the downgrade process.

Step 6: Select Your Downgrade Term
- Choose Your Downgrade Term: Select the billing option for the downgrade. You can choose a monthly billing plan or save 15% with a 3-month commitment, which also includes bonus links.
Step 7: Confirm Your Downgrade
- Click on ‘Switch Plan’: After selecting your downgrade plan and term, click on the ‘Switch Plan’ button to finalize the change.

And that’s it – your subscription has been successfully downgraded. A confirmation pop-up will appear below to confirm the adjustment.
